UPDATE: All Daemen Accounts will now be Licensed. Therefore, you will have access to the features available to Pro accounts.
- Open up your Zoom app on your Mac.
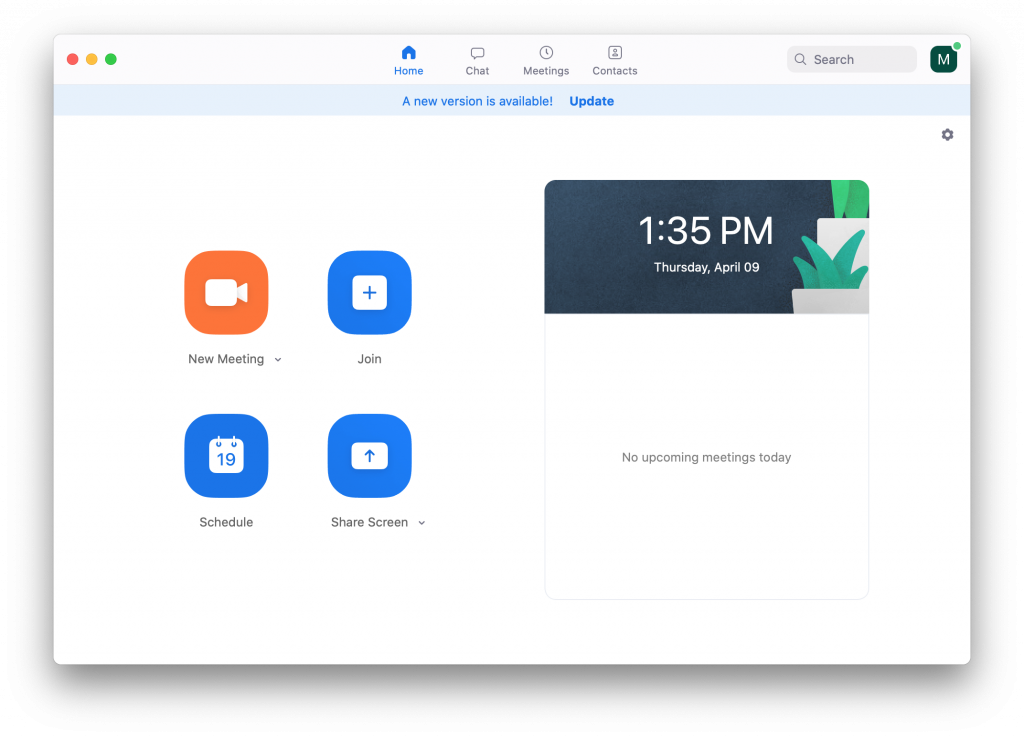
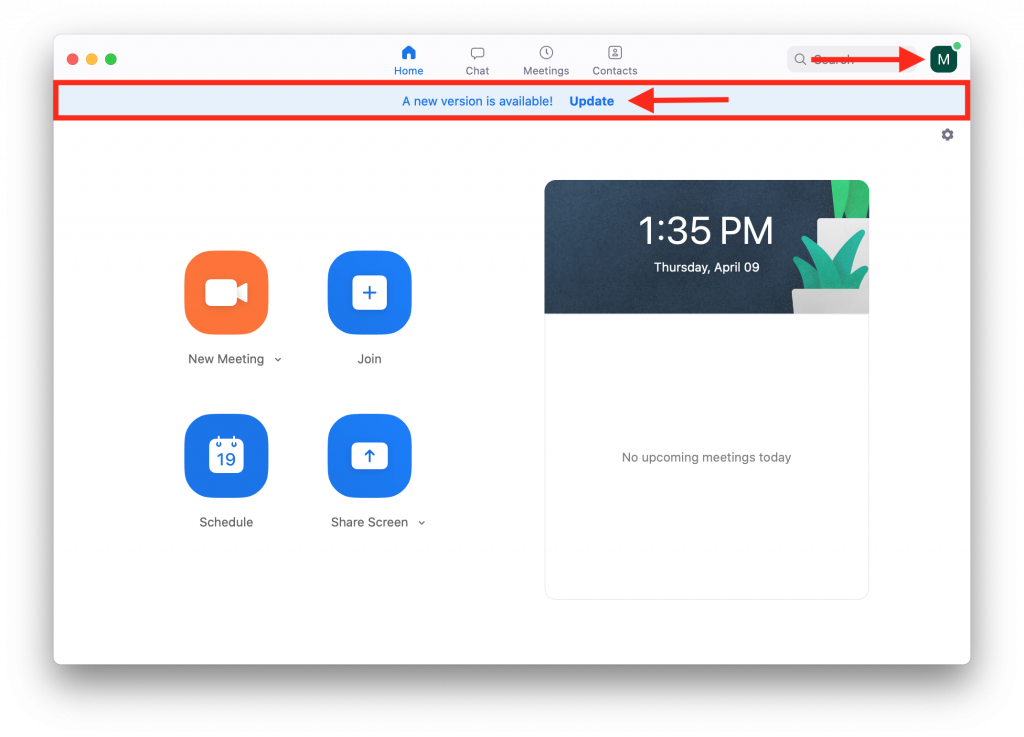
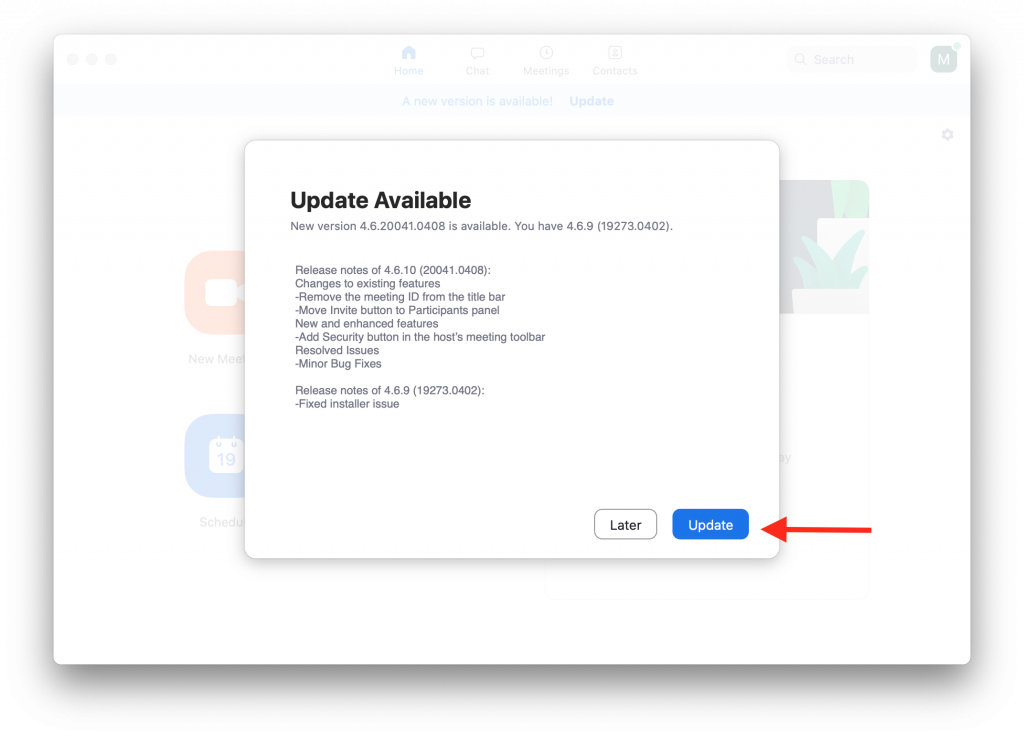
2. From here you can see an update is available. You can click on Update and that will take you to step 3.
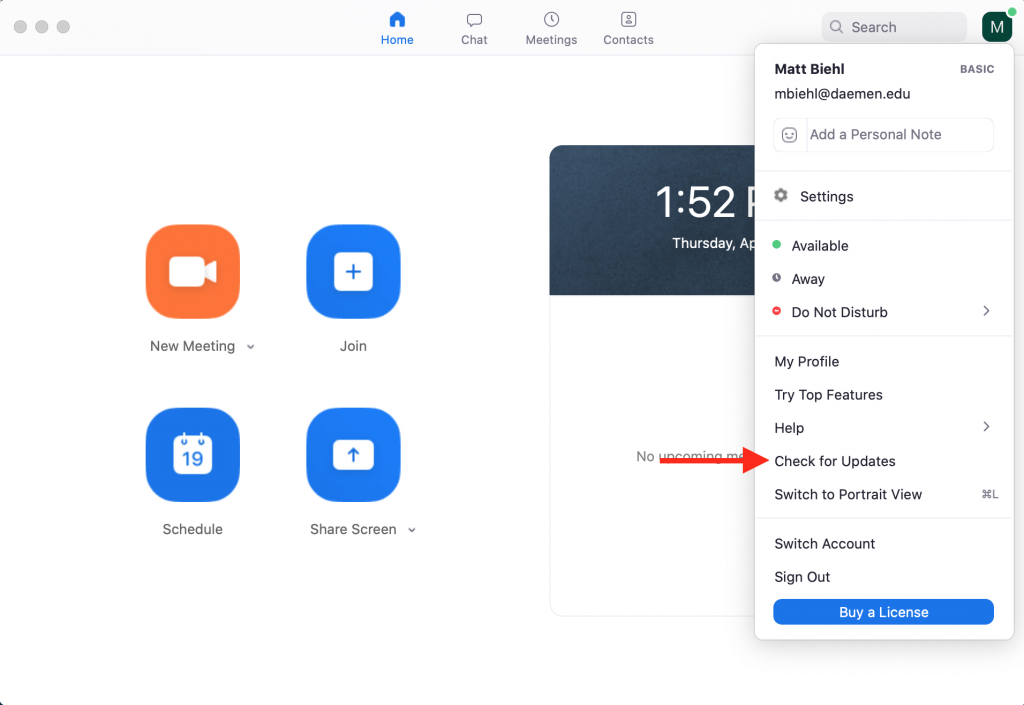
If you don’t see the “A new version is available! Update” banner on the top of your Zoom screen, you can select the box in the upper right corner with your first initial in it. When you select this box choose “Check for updates” from the drop down menu.
3. Next, if an update is available you will be able to select “Update”. The update will start to download on your computer.
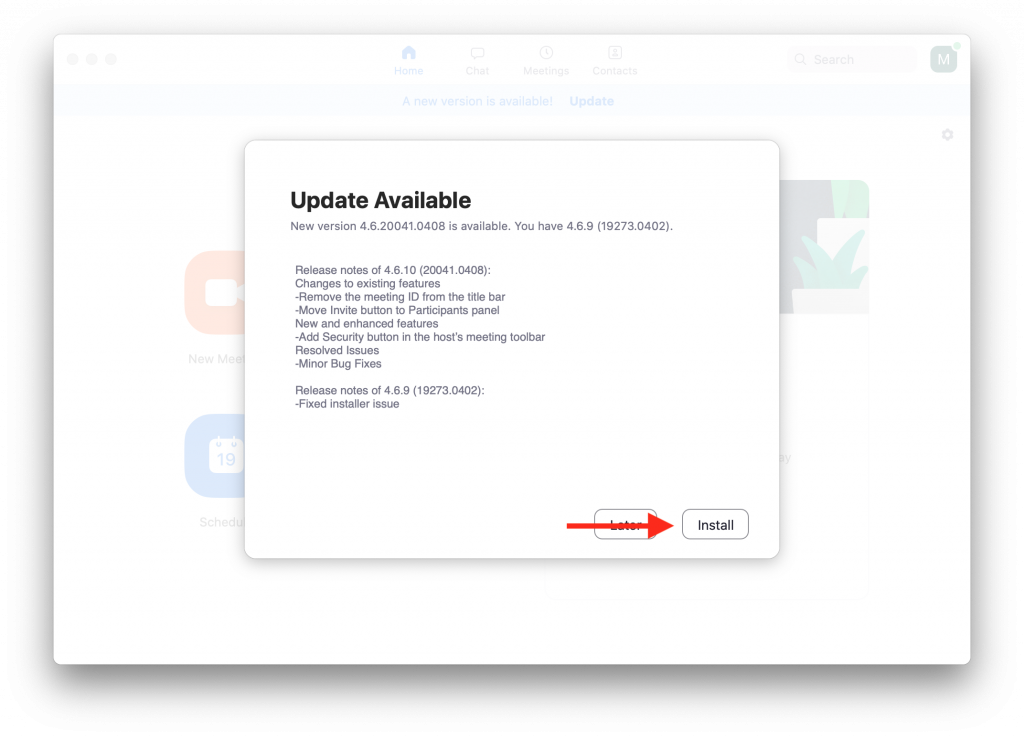
4) Once the update downloads you will be able to select “Install”.
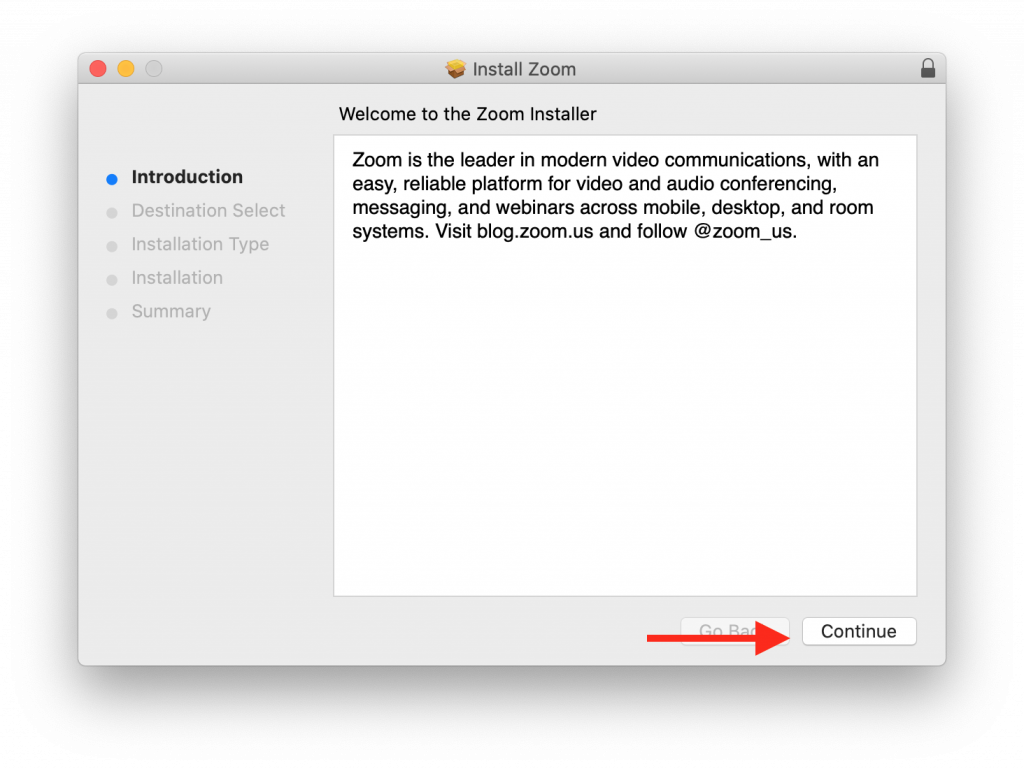
5. From here select “Continue” and on the following screen select “Install”.

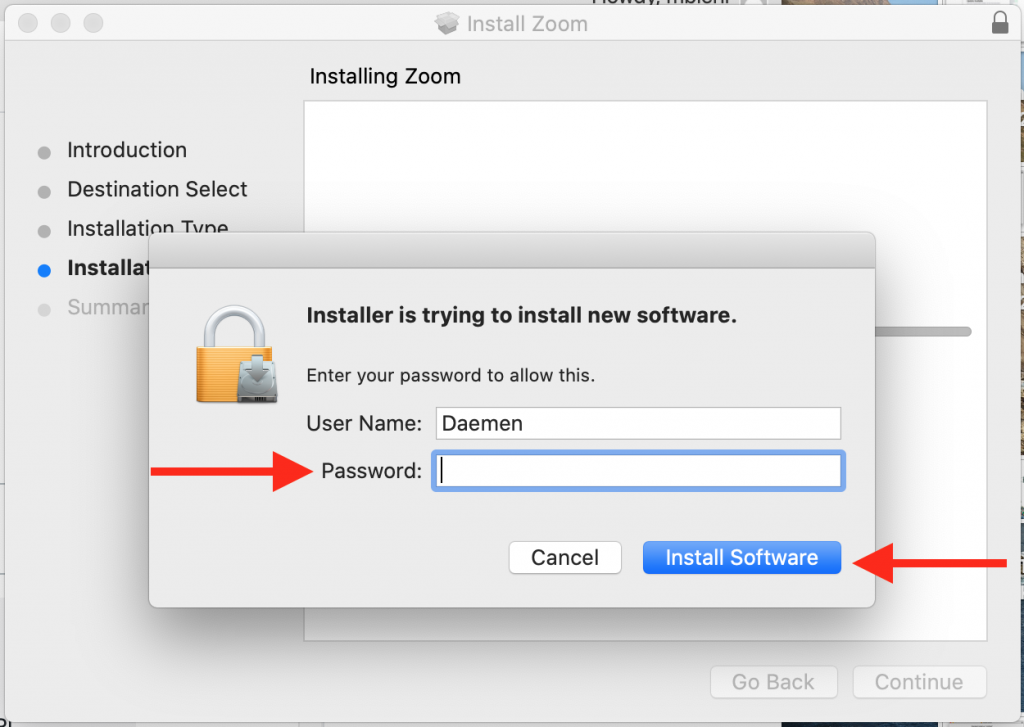
5) Enter in your Mac’s password (the same one you use to sign into the computer) and choose “Install Software”.
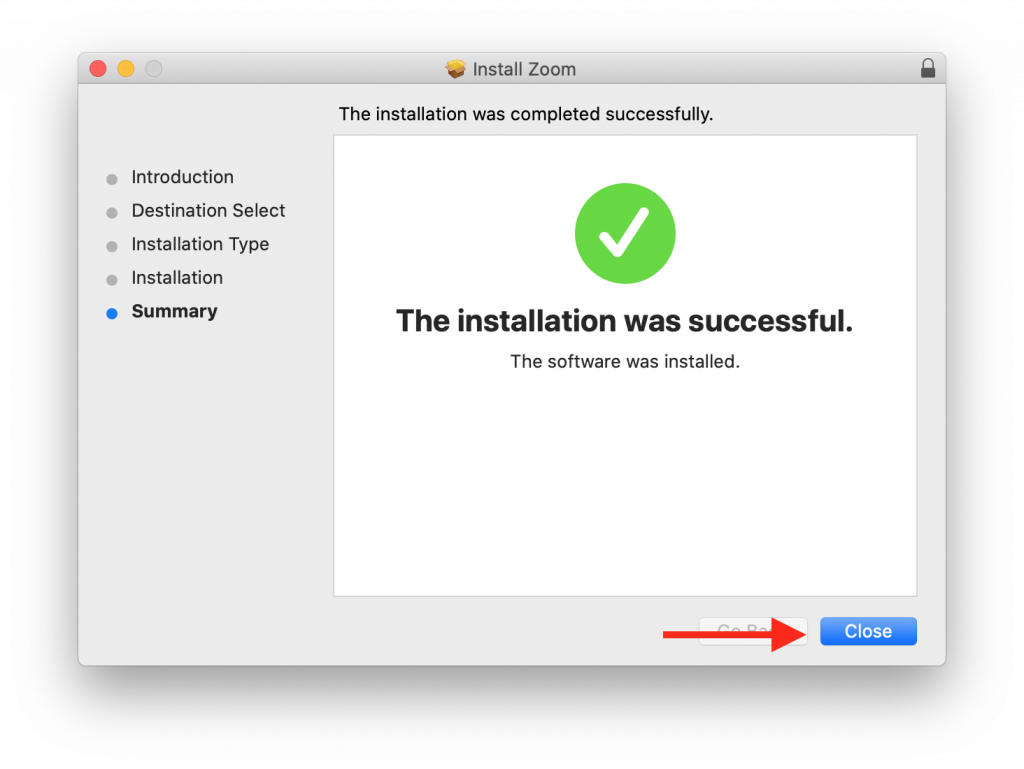
6) You will see the installation process begin and once it is complete you will see a screen that says “The installation was successful”.
From here you can select “Close” and start using your updated version of Zoom!