UPDATE: All Daemen Accounts will now be Licensed. Therefore, you will have access to the features available to Pro accounts.
*If you haven’t downloaded/installed the Zoom client software, please do so using our Zoom Client Download Guide in order to join/host and record a meeting
- During a Zoom meeting, hit the Record button on the bottom-right side of the Zoom window

- The Record button will now be a Pause/Stop button, ensuring the meeting is being recorded
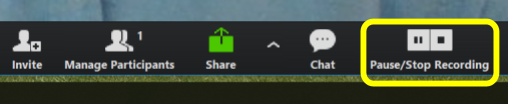
- When finished recording, click the Stop button (square block) to stop the recording

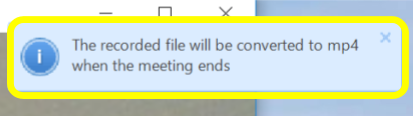
- You will see a window prompt stating that the recorded video be available after you end the meeting
- When finished with your meeting, click “End Meeting” at the bottom-right of the screen

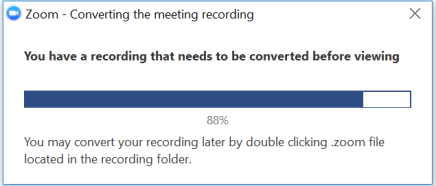
- The recorded video will automatically be converted and you will see the status bar
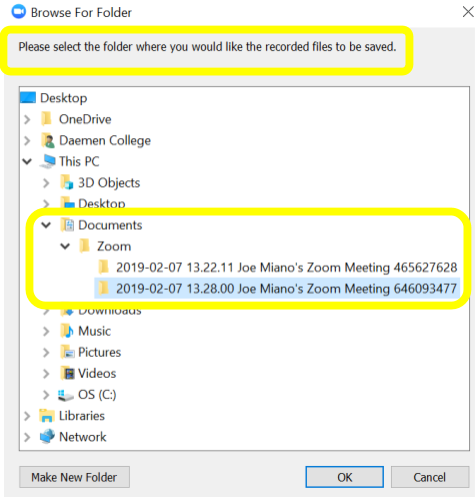
- You will then see a window prompt asking where you’d like to save the recorded video
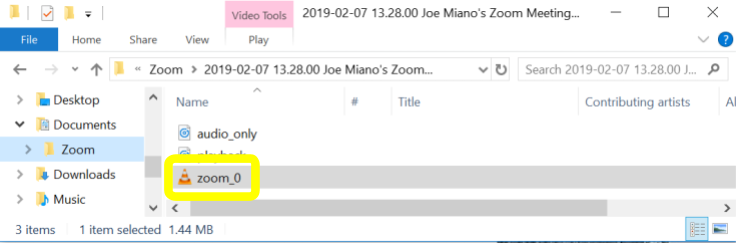
* A specific folder with Zoom ID, date, and time will automatically be created under Documents > Zoom, where you will find your recorded video
- Double click the file labeled “zoom_X” to play the recorded video