UPDATE: All Daemen Accounts will now be Licensed. Therefore, you will have access to the features available to Pro accounts.
*If you haven’t downloaded/installed the Zoom client software, please do so using our Zoom Client Download Guide in order to host a Zoom meeting
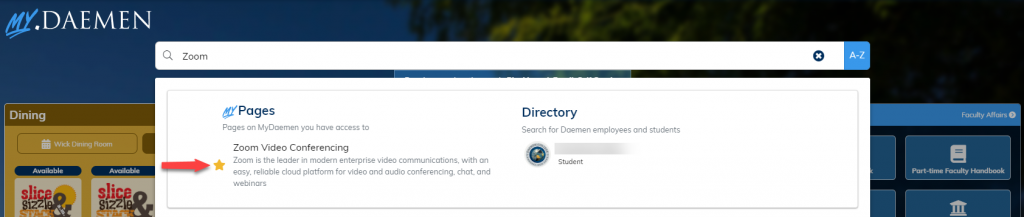
- Go to https://my.daemen.edu/ using a Chrome web browser and log into your My Daemen Account

- Search “Zoom” in the search bar. (Optional: click the star to add to your favorites) Click Zoom Video Conferencing.
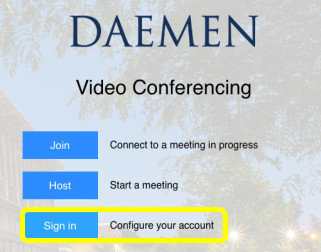
- Click “Sign In – Configure Your Account”
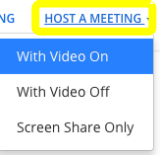
- Click “Host a Meeting” on the top-right of the screen and select the desired meeting type
- Select “Open Zoom Meetings” to the window prompt (if applicable)
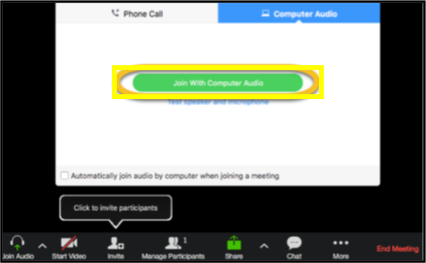
- Select “Join With Computer Audio”. You can also test your speaker/microphone
- If they enter in the Meeting ID, they will be prompted for a password. To find the Meeting ID and Password, click on the “i” button found just below the Meeting ID.
 It will display your meeting information, including the password to provide to them.
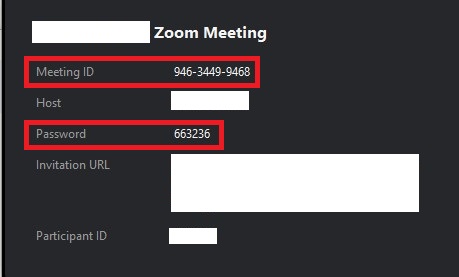 You can also invite others by clicking the “Invite” icon on the bottom of the Zoom window. You can invite people from your contacts or email them a link by going to “Email” and “Copy URL”)

- Once they have joined the meeting, they should be added to the meeting directly.NOTE: We have configured the Waiting Room feature for anyone joining the meeting that is not using their @daemen.edu account. The host of the meeting will need to “Allow” those participant(s) into the meeting.

