How to allow apps access to camera using Privacy settings
Since the release of version 1803, as part of the privacy improvements, Windows 10 can revoke certain apps access to your microphone and camera automatically, as such checking the privacy settings is one of the first steps to get a camera working on your device.
To allow apps to access the webcam on your computer or laptop running Windows 10, use these steps:
- Open Settings.
- Click on Privacy.
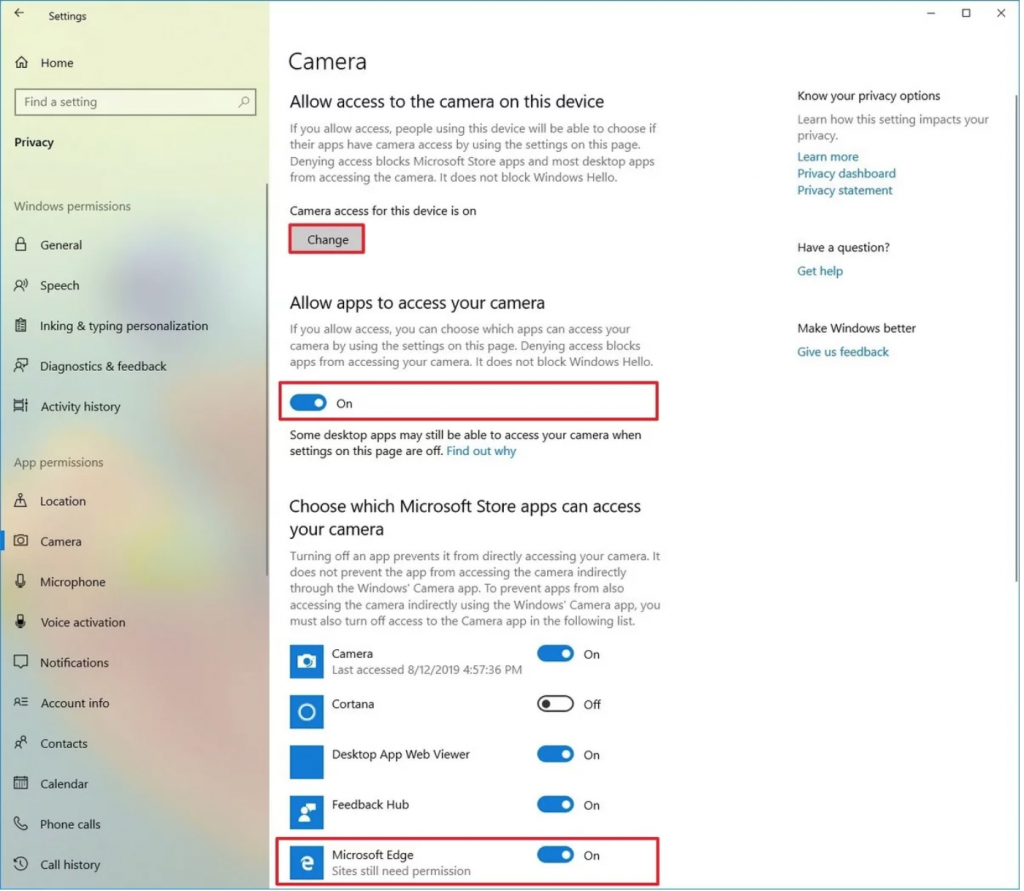
- Click on Camera.
- Under the “Camera access for this device” section, click the Change button.
- Turn on the Allow access to camera on this device toggle switch.
- Turn on the Allow apps to access your camera toggle switch.
- Under the “Choose which Microsoft Store apps can access your camera” section, turn on the toggle switch for the apps that you want to allow access.
After you complete the steps, the app you want to use should now be able to work with your camera.
How to update camera driver using Device Manager
If the camera stops working after installing a new version of Windows 10 (for example, May 2019 Update) or another system change, there’s a chance that you’re using an outdated version of the camera driver that is causing the problem.
To update the camera driver to fix problems on Windows 10, use these steps:
- Open Start.
- Search for Device Manager, and click the top result to open the app.
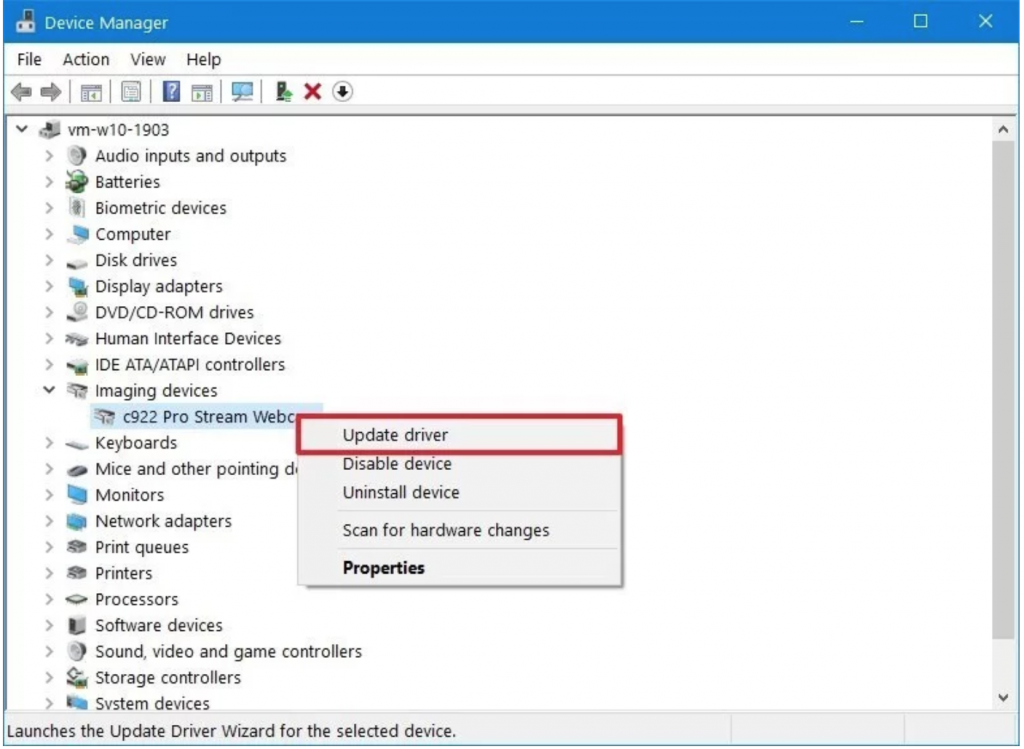
- Expand the Imaging devices, Cameras, or Sound, video and game controllers branch.
- Right-click the webcam and select the Update driver option.
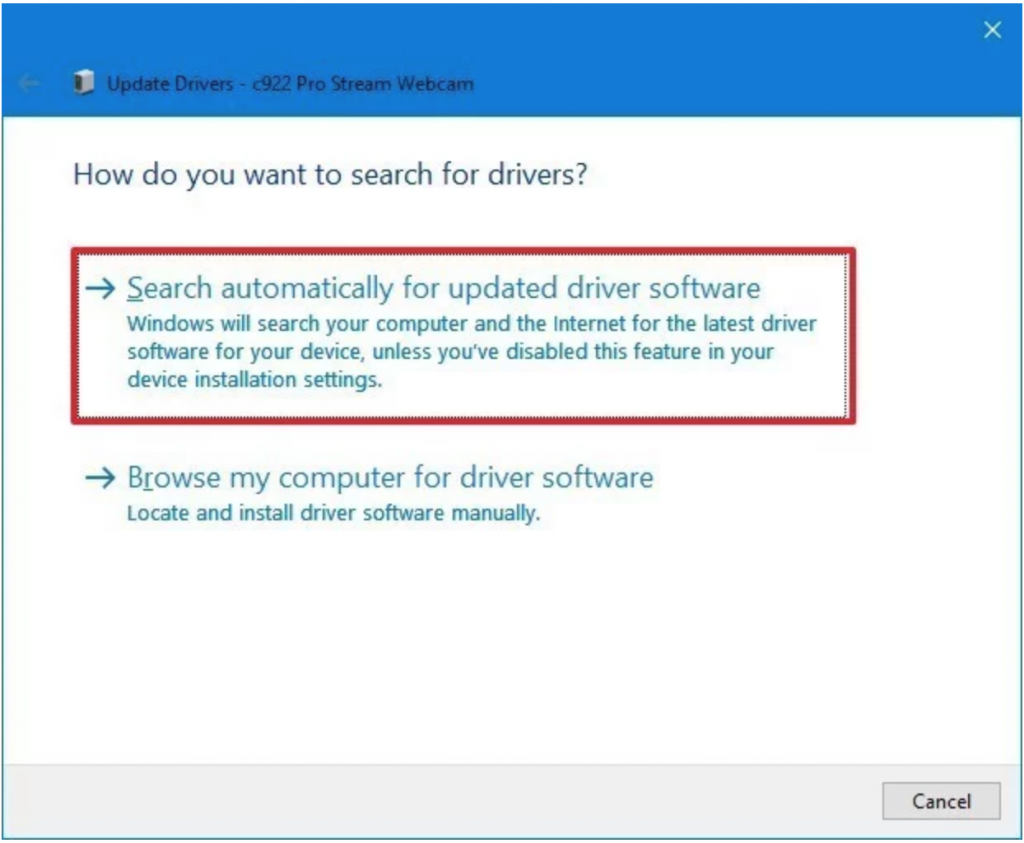
5. Click the Search automatically for updated driver software button.
Once you complete the steps, if a newer update is available, Device Manager will download and install the package automatically similar to Windows Update.
In the case that Windows Update doesn’t find any new version, you may need to check your manufacturer support website to download and install the most up-to-date driver.
How to reinstall camera driver using Device Manager
If the camera stops working because of driver corruption or configuration problems, reinstalling the camera using Device Manager may resolve the issue.
To uninstall and install the camera driver, use these steps:
- Open Start.
- Search for Device Manager, and click the top result to open the app.
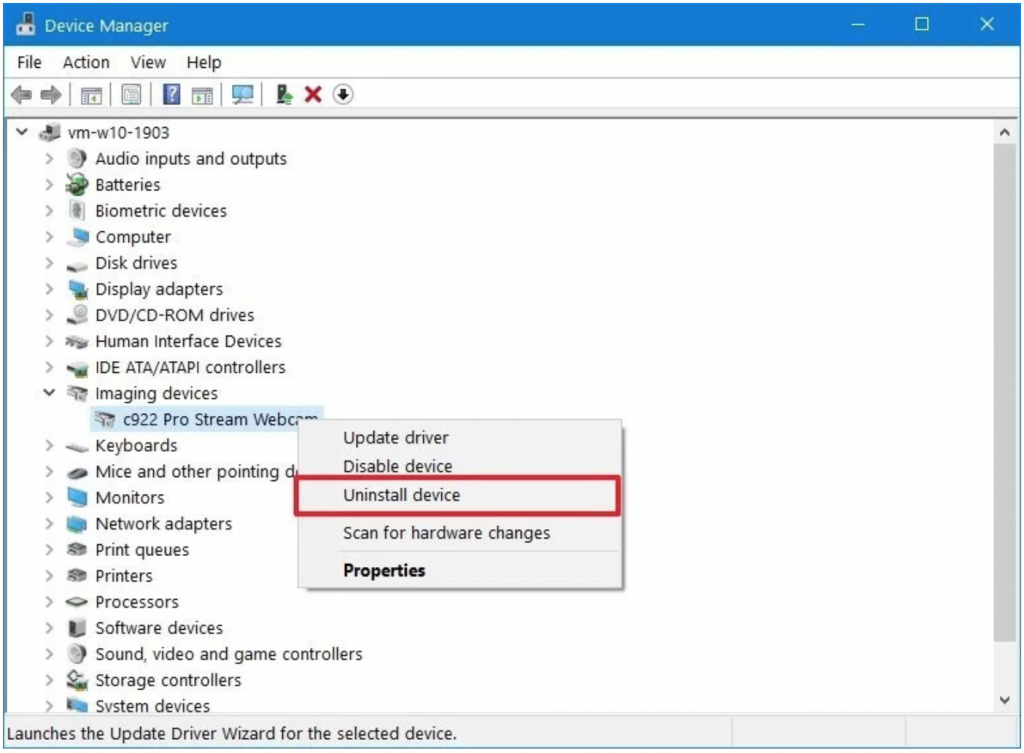
- Expand the Imaging devices, Cameras, or Sound, video and game controllers branch.
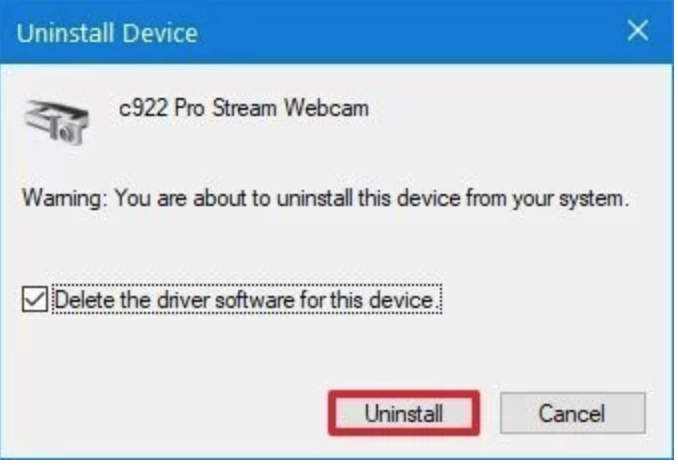
- Right-click the webcam and select the Uninstall driver option.
5. Click the Uninstall button.
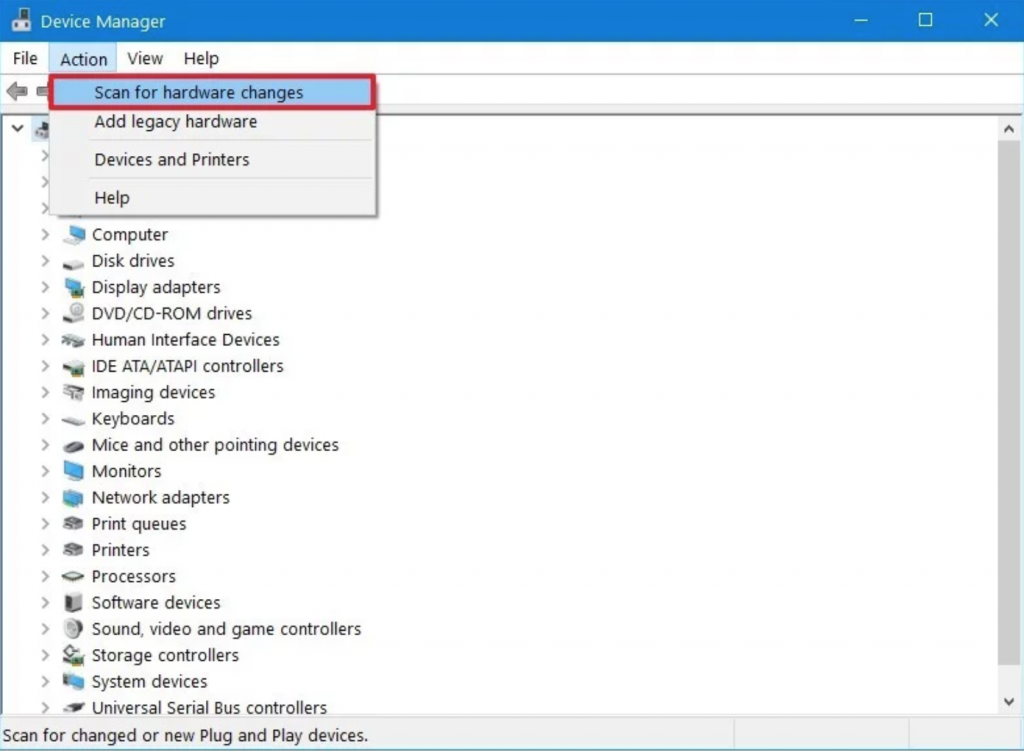
6. Click on Actions.
7. Click the Scan for hardware changes option and/or restart the computer.
Once you complete the steps, try to use the camera with an app, and it should work as expected.
Note: The info in this article is from https://www.windowscentral.com/how-fix-common-camera-problems-windows-10 and https://support.microsoft.com/en-us/help/4028443/windows-10-update-drivers