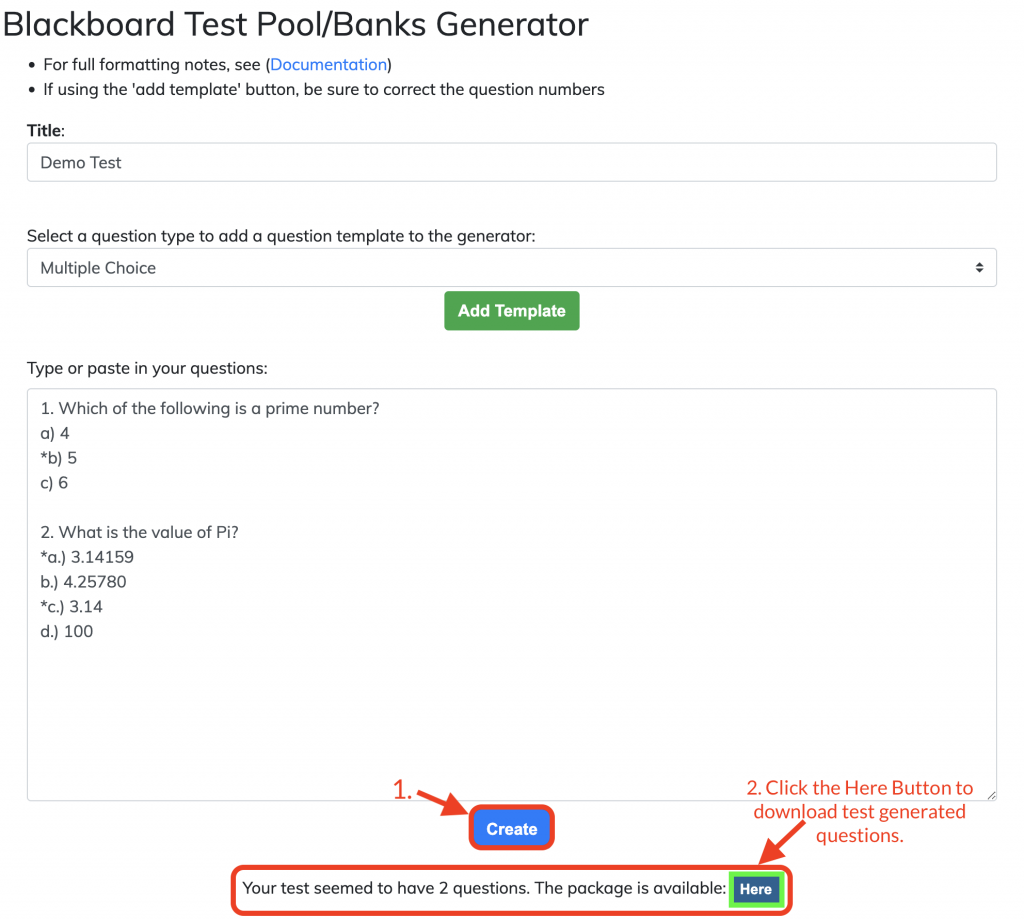
- Once you have formatted your test using the desired question template type (Multiple Choice, True/False, Essay, Fill in the Blank, Matching), simply click on the blue “Create” button to proceed.
- Upon successful formatting, you will receive a message at the bottom indicating the number of questions in your test, along with a blue “Here” button. Click the blue “Here” button to download the zip file containing your formatted test questions.
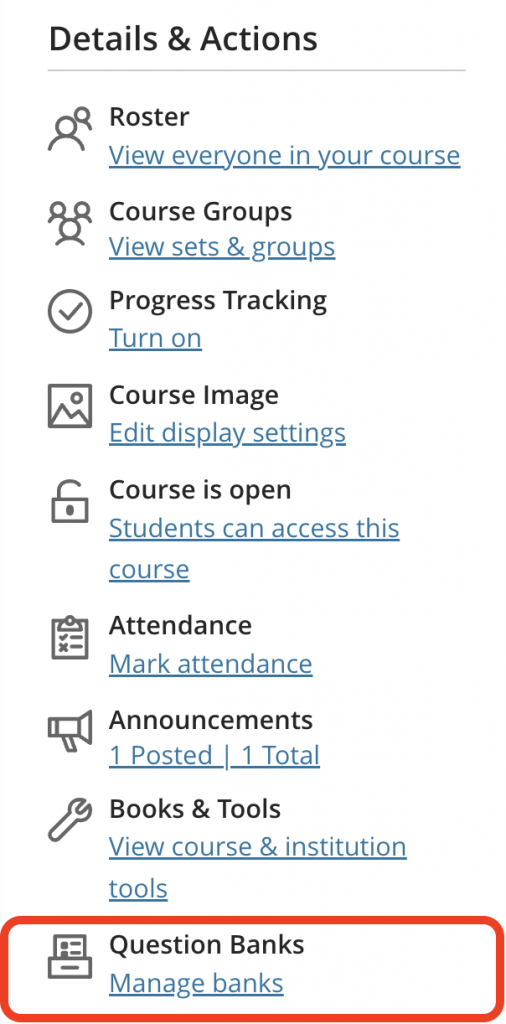
3. In your Blackboard course, navigate to the “Details and Actions” section.
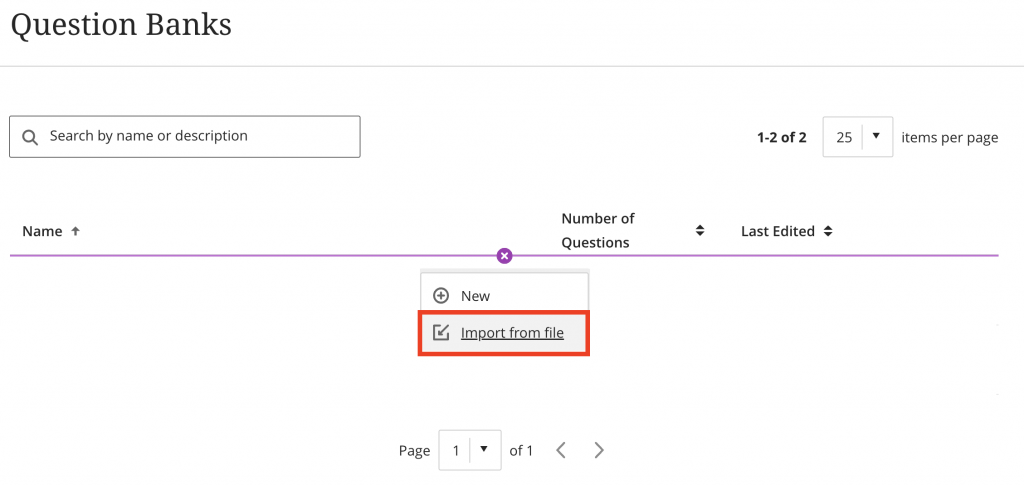
4. To import a Zip file into question banks, click on the purple “+” button and select the option “Import from File.” After that, you should upload the Zip file and then proceed to create your test questions.
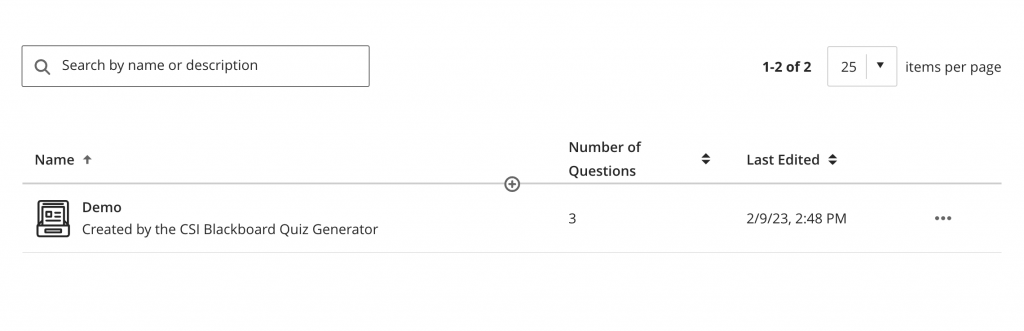
5. Once you have uploaded the file, you will be able to access information such as the name of the test, the number of questions included, and the date of its last edit.
6. In the course dashboard, create a Blackboard test, by selecting the purple “+.” You have the option to determine the placement of your test within your course once it has been created.

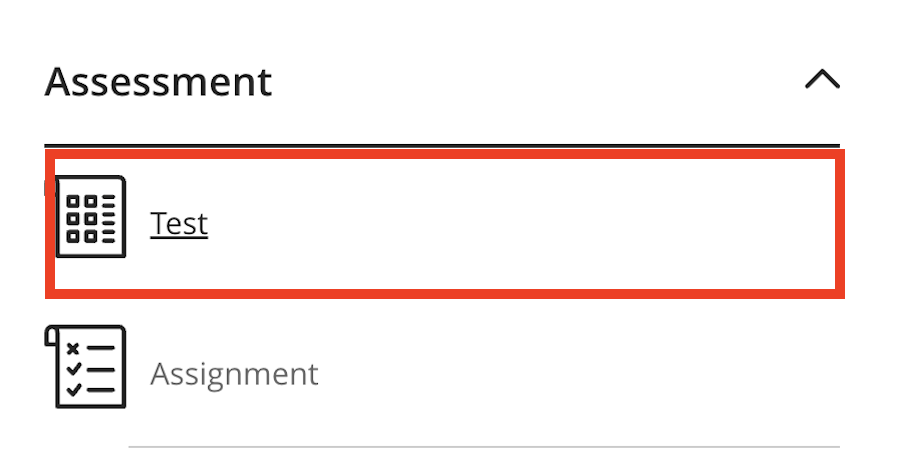
7. Select the “Test Option” under assessments.
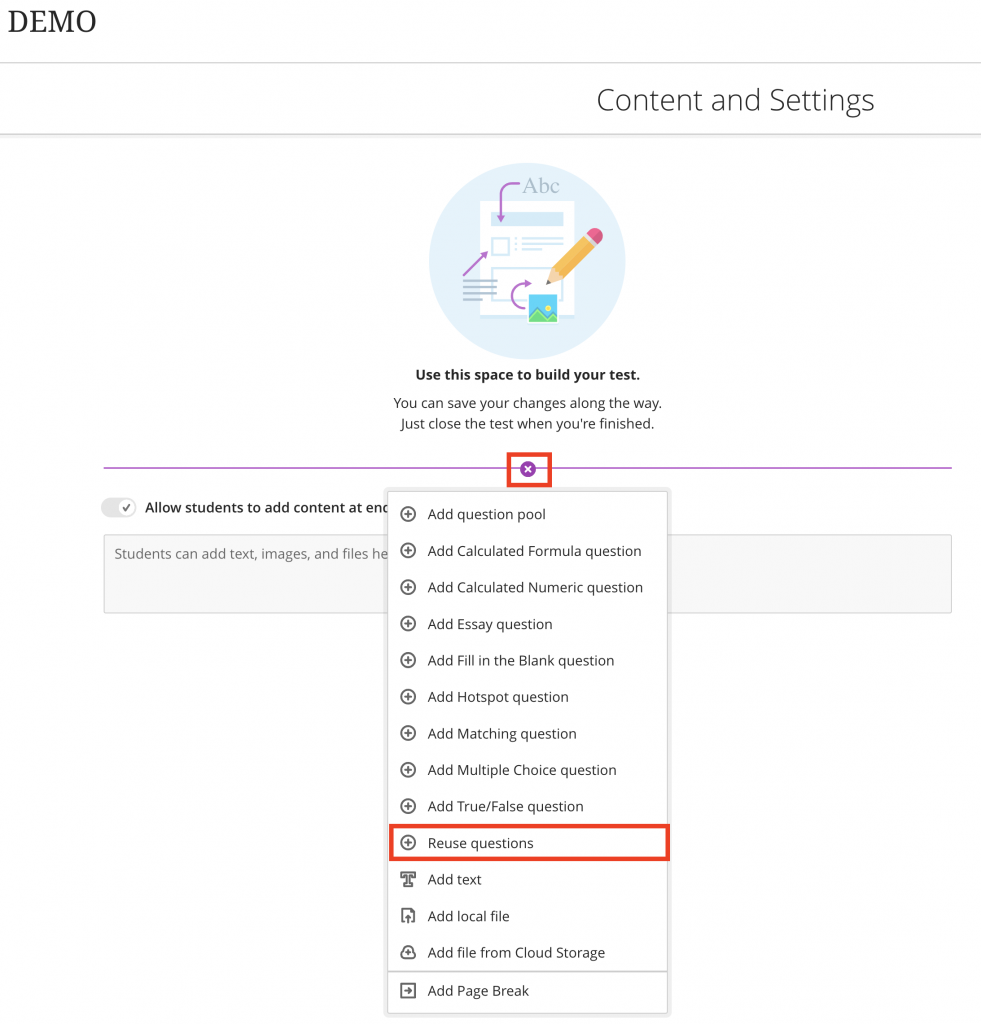
8. Choose the purple “+” symbol and opt for the “Reuse Questions” option. This will give you a list of all your Reuse Questions.
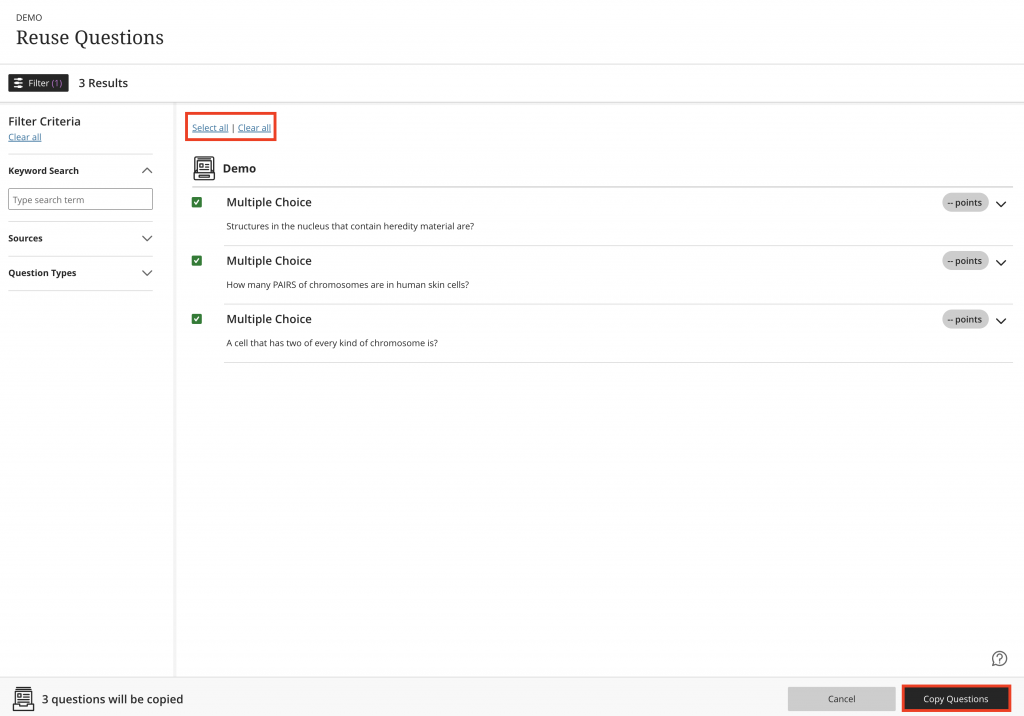
9. In the “Reuse Questions” panel, select the desired questions (either all of them or just a few) and then click the black “Copy Questions” button located in the bottom right corner.
10. The questions will be imported into your Blackboard test.
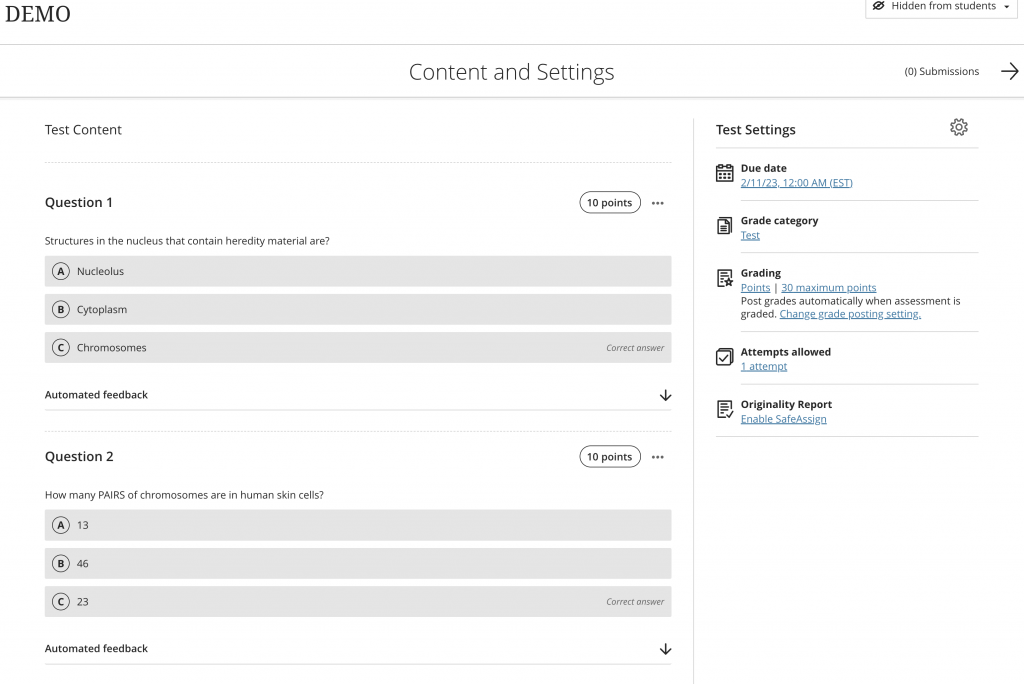
*Note: Ensure to thoroughly review the questions and answers in the test, as well as establish the test’s parameters and settings.